Burgundy Spire North Face
- Rock Climb
Burgundy Spire - 8400' - North Face Class 5.8 September 2013
Approach
This is a classic route on a classic tower reputed to be one of the hardest peaks to attain in Washington. The upper pitches are beautiful alpine granite offering many variations depending on how hard you want to make the climb. Below I will describe the standard 5.8 route which is quite an adventure in and of itself. Many traverses, some down-climbs and lots of flakes and cracks of all sizes make this climb a tough yet varied climb that will test your route-finding and climbing skills. There are not any real pumpy or difficult sections if you stay on the route described below but the difficulty can rapidly increase if you venture onto one of the off-width variations. If 5.8 alpine trad is at or near your limit, it's best you study the route carefully beforehand.
From Seattle, take I-5 north to Burlington and continue east on WA Highway 20 (North Cascades Highway) all the way up and over Washington Pass. This drive takes about 3 hours. Liberty Bell towers above Washington Pass. Descend down the east side of the pass for 3.75 miles, passing the hairpin curve, and park at the long pull-out on the east side of the road at 4,310 feet in elevation. This is the trail-head and you need to locate a faint but noticeable boot path leading down the loose talus to the east. Locating this path is critical, once you find it, follow it down on very loose and scree covered talus and into the trees where it becomes a nice trail. You will pass by a registration box just before reaching Early Winters Creek. At 4,080 feet, cross the creek on one of numerous logs and continue up the trail which winds through the forest for a quarter-mile, then steeply ascends in-between two small creeks. Doing this ascent in the morning is recommended as you will have cool shade since it's a west facing slope. At 6,460 feet you will arrive at a nice flat bench which makes a great campsite if you plan to make it an overnight.
Continue on the trail above the bench as it climbs up and traverses scree gullies until reaching the 7,770 foot Burgundy Col which is 3,700 feet above Early Winters Creek. The final 1,000 feet to the col really is miserable due to the ball bearing scree covering solid rock. The floods of September 2013 didn't help matters either. Follow cairns for the easiest way. The nice thing about this climb is that you do not have to do a carry-over, therefore you can ditch any extra gear at or near the Burgundy Col.
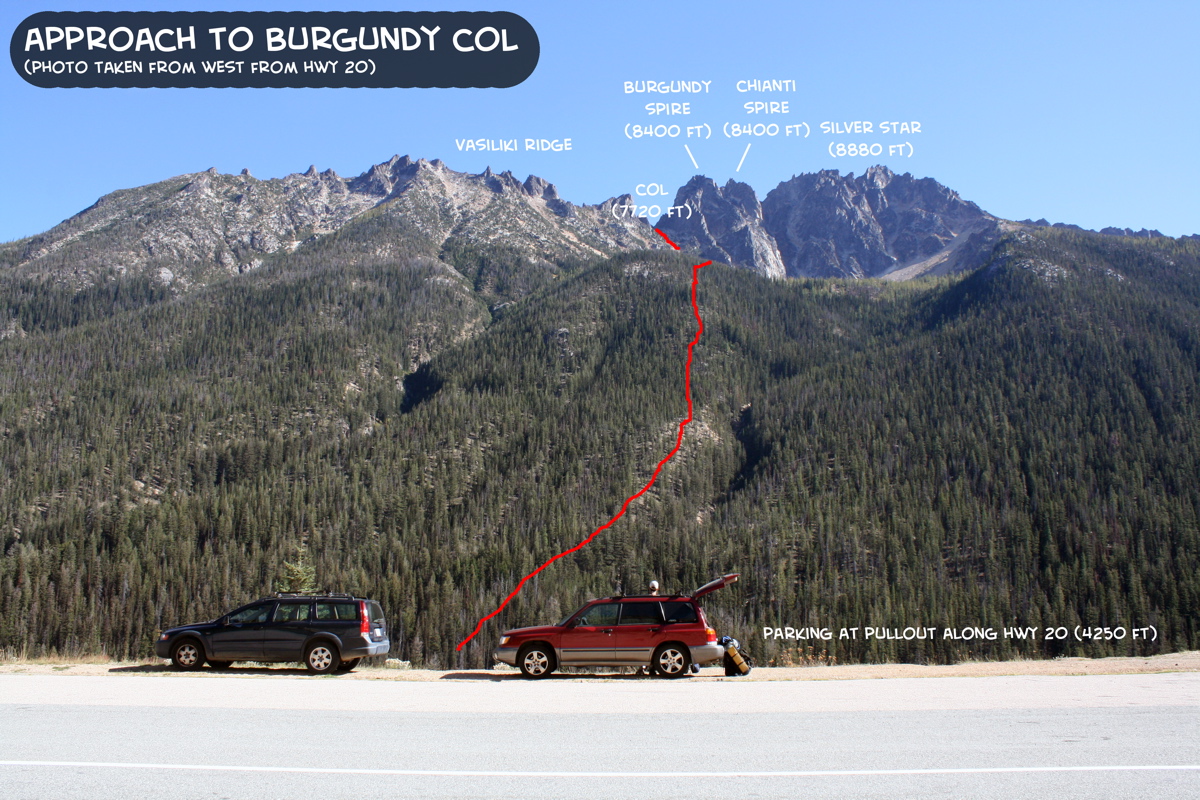 A look at the approach to Burgundy Col from the Highway
 |
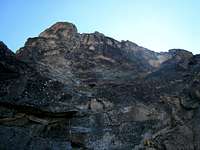
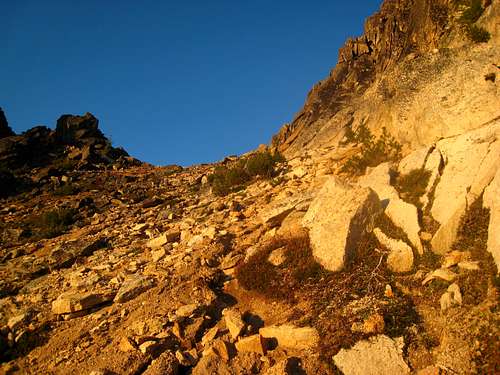 Looking 20 feet up to Burgundy Col from the start of Pitch 1
 |
Map
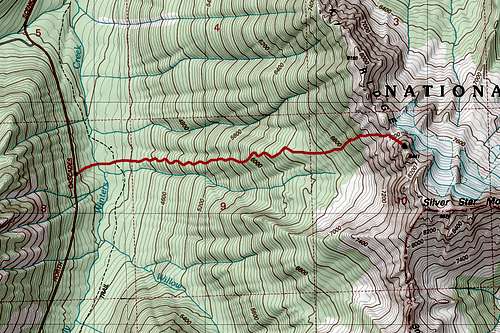 Map showing the approach to 7,770 foot Burgundy Col. It's a Class 1 trail to the 6,440 foot flat bench, then it's loose kitty litter Class 2 to the col.
Route Description
Described below is a description of each pitch the way I did them in September, 2013. We did a total of eight pitches and kept the entire route at 5.8 in difficulty (though I thought it was more like 5.7). Rope drag on this route can be a serious problem so combining pitches may not be the best idea. Use your best judgment though.
| Pitch | Photo | YDS | Brief Description |
| 1 |
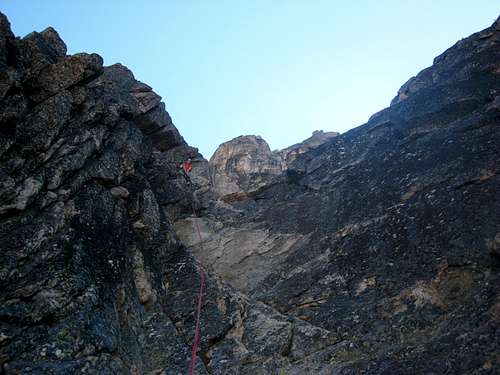 Pitch 1
 |
5.4 | From Burgundy Col, descend about 20 feet to the west and locate an obvious chimney/gully heading up just to the left of the huge vertical face coming down the north side of Paisano Pinnacle. The idea for this first pitch is to climb the weakness between this Pinnacle and Burgundy Spire itself. After a full 60 meters, belay on a large slung horn. Plenty of pro options. |
| 2 |
 Pitch 2
 |
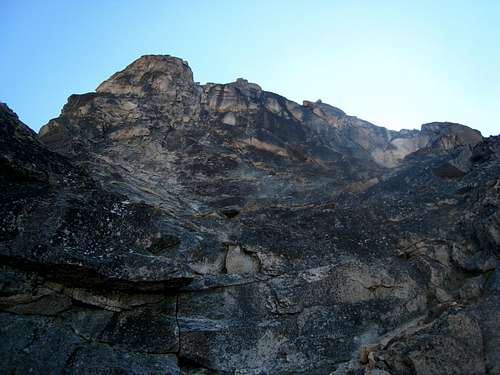
4th | This pitch doesn't have much climbing at all as it's mainly a scramble up scree ledges to the start of more technical climbing on the north face of Burgundy itself. From the belay atop the first pitch, scramble 15 feet of 4th class rock to the huge ledge above. Hike up the kitty litter covered ledges passing by the top of a deep gully dropping to the left and reaching the base of the north face proper after about 45 meters. Walk left on the uppermost scree ledge until you are right below a series of flakes. No pro on this pitch. |
| 3 |
 Pitch 3
 |
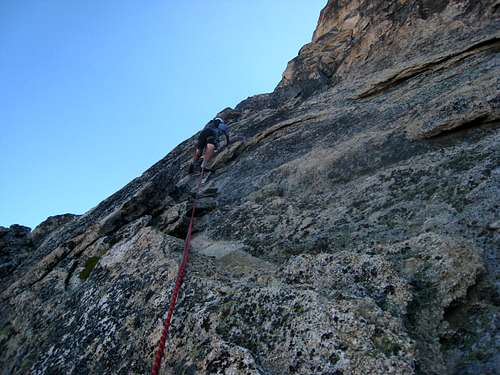
5.4 | This pitch starts by climbing the sketchy flakes just above and veering left on a ledge to the base of a near vertical, right facing crack system. Be very careful how you grab these flakes at the base of this pitch. They are great holds but many of them are hollow and ready to break. After 40 meters, reach the near vertical dihedral and belay. Sparse pro. |
| 4 |
 Pitch 4
 |
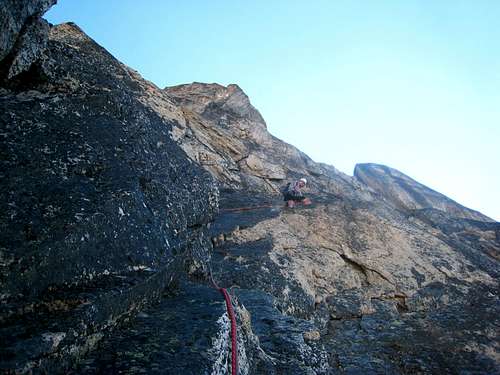
5.8 | Now the fun begins! Climb straight up the crack system for about 20 feet and traverse back to the right on a nice ledge. Climb up a tricky 10 foot crack to reach a second ledge and continue on the rightward traverse on this narrow ledge as it descends slightly. At the end of this ledge you're at the base of a large crack and flake system with a large block with numerous slings wrapped around it. Climb these cracks and flakes to the huge boulder and belay here. Be sure to place adequate protection on the rightward traverse to avoid a pendulum fall for your second. 45 meters total length and plenty of pro options. Rope drag becomes pretty bad. |
| 5 |
 Pitch 5
 |
5.8 | From the huge slung block atop the forth pitch, continue straight up the now vertical flakes and cracks (5.8). This was one of the best parts of the climb. As the angle eases continue along the widening cracks slightly leftward, then when you reach a headwall, traverse 15 feet back to the right and onto a huge ledge. Belay here. 35 meters and plenty of pro. |
| 6 |
 The big ledge
 |
3rd | This pitch doesn't have any climbing but it is very important you get this right. Traverse the huge ledge to the right for a long ways...more than you think you need to. You will be forced to descend about 15-20 feet midway across then re-climb a short ways and pass under a gigantic block that makes a large archway. Once you pass under this locate another small slung horn and belay for the 7th pitch here. This ledge traverse is best done un-roped. The photo below shows this arch.
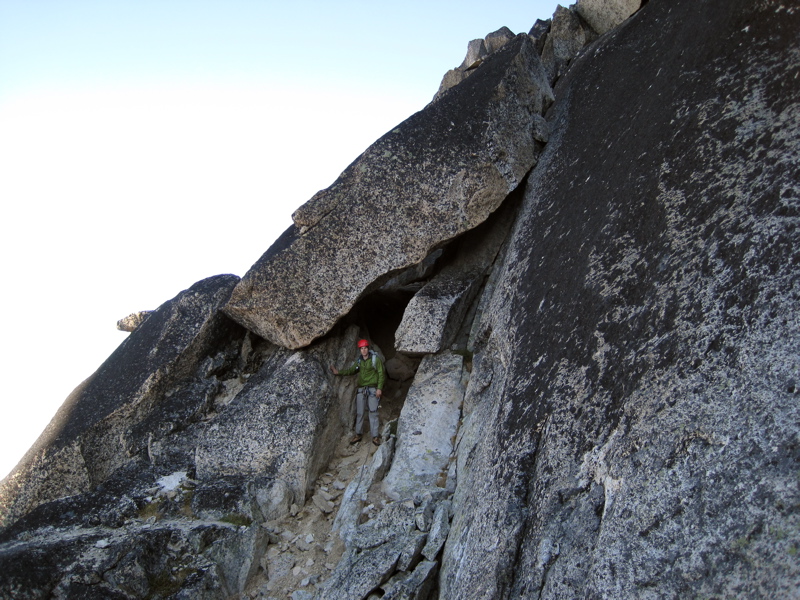 The arch to cross under
 |
| 7 |
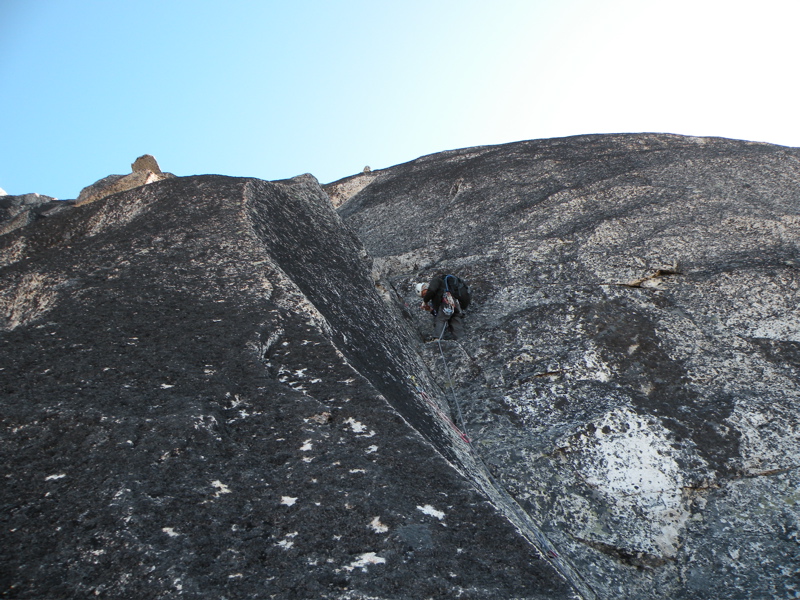 Pitch 7
 |
5.7 | From the belay just across the arch, begin climbing up a big flake just above and to the right. Continue traversing to the right more than you think you need to until a crack system appears. Don't let the blank, lichen covered rock above you get to your head. Just keep traversing around the corner. Once at the base of the crack system, begin climbing an open dihedral, passing by a fixed piton and reaching a nice big ledge with your first views of Silver Star Mountain to the south. Belay here. 45 meters total length with somewhat sparse but good pro. |
| 8 |
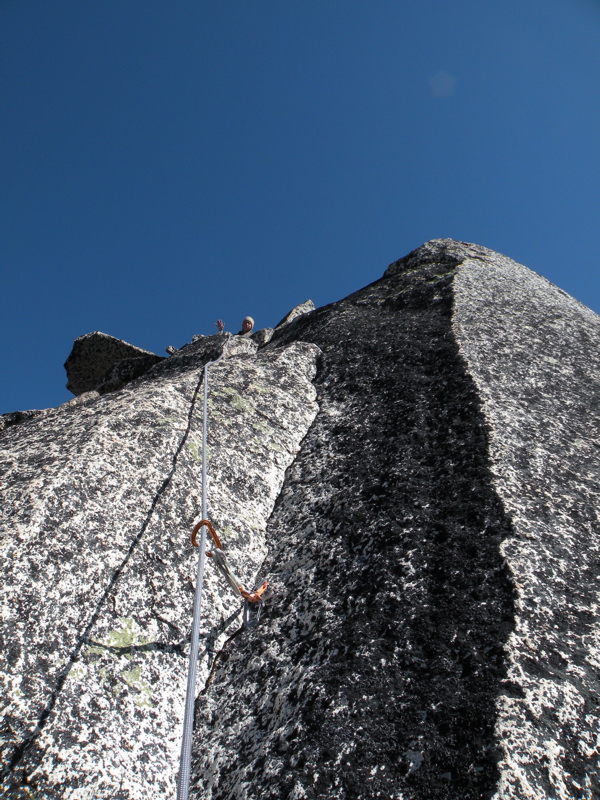 Start of Pitch 8
 |
5.8 | This pitch is probably the crux of the route. From the giant ledge where you are greeted with your first views of Silver Star Mountain, climb a thin finger crack (shown at left). If you have small fingers this works well but if you are tall, use the face holds just to the left of the crack. There are just enough holds to keep the route at 5.8. Above this, continue up near the crest of this ridge and when you reach a huge fin, traverse left around it and finish the climb on a 25 foot off-width crack (shown below) which dumps you off on the summit ridge to which the summit is a short stroll away.
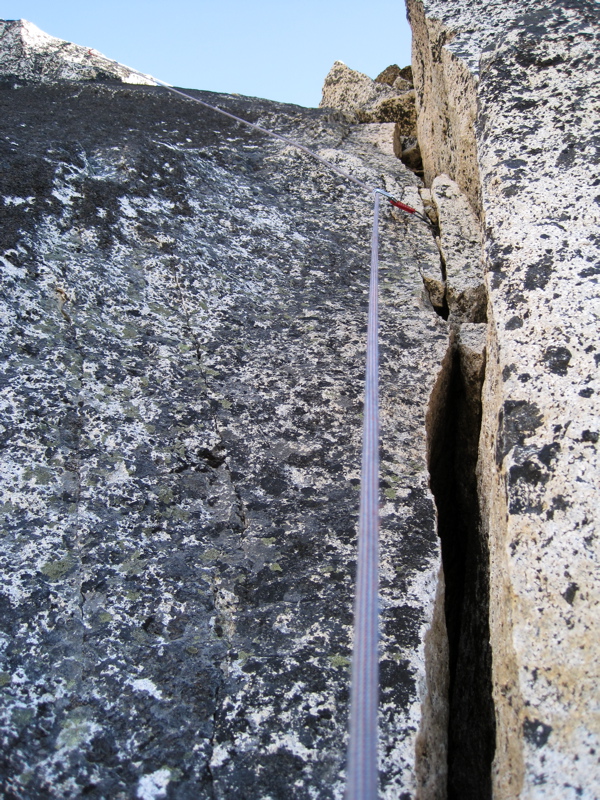 The final off-width crack
 |
Overview Photos
These photos were provided by Steph Abegg and provide an overview of the other options on the route as well as a visual for the standard route I described above.
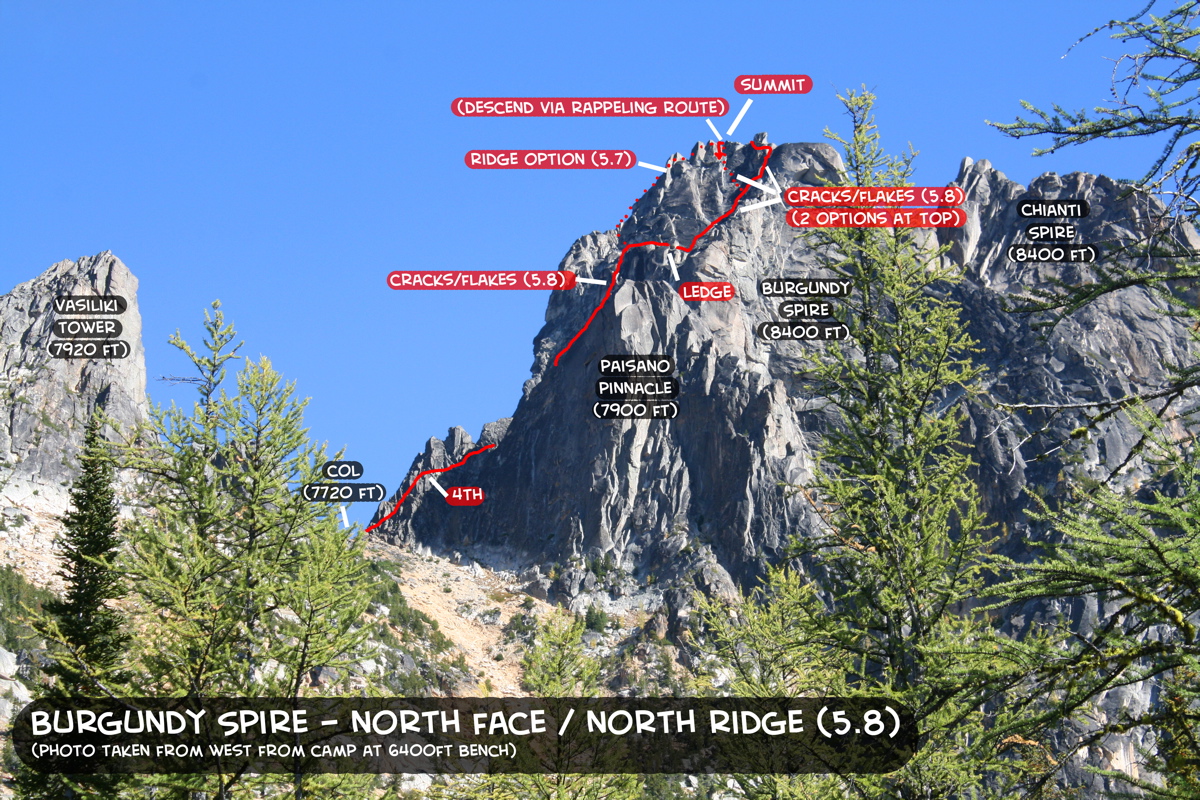 Route Overview
 |
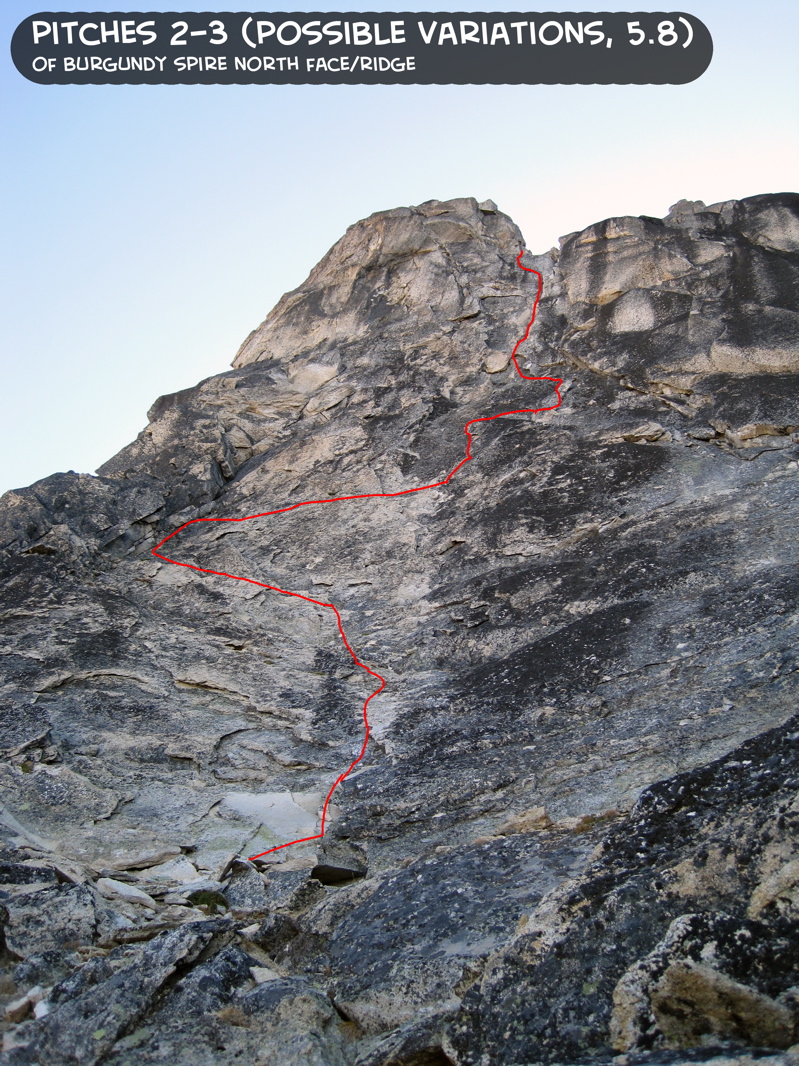 Topo showing Pitches 3-5 as described above
 |
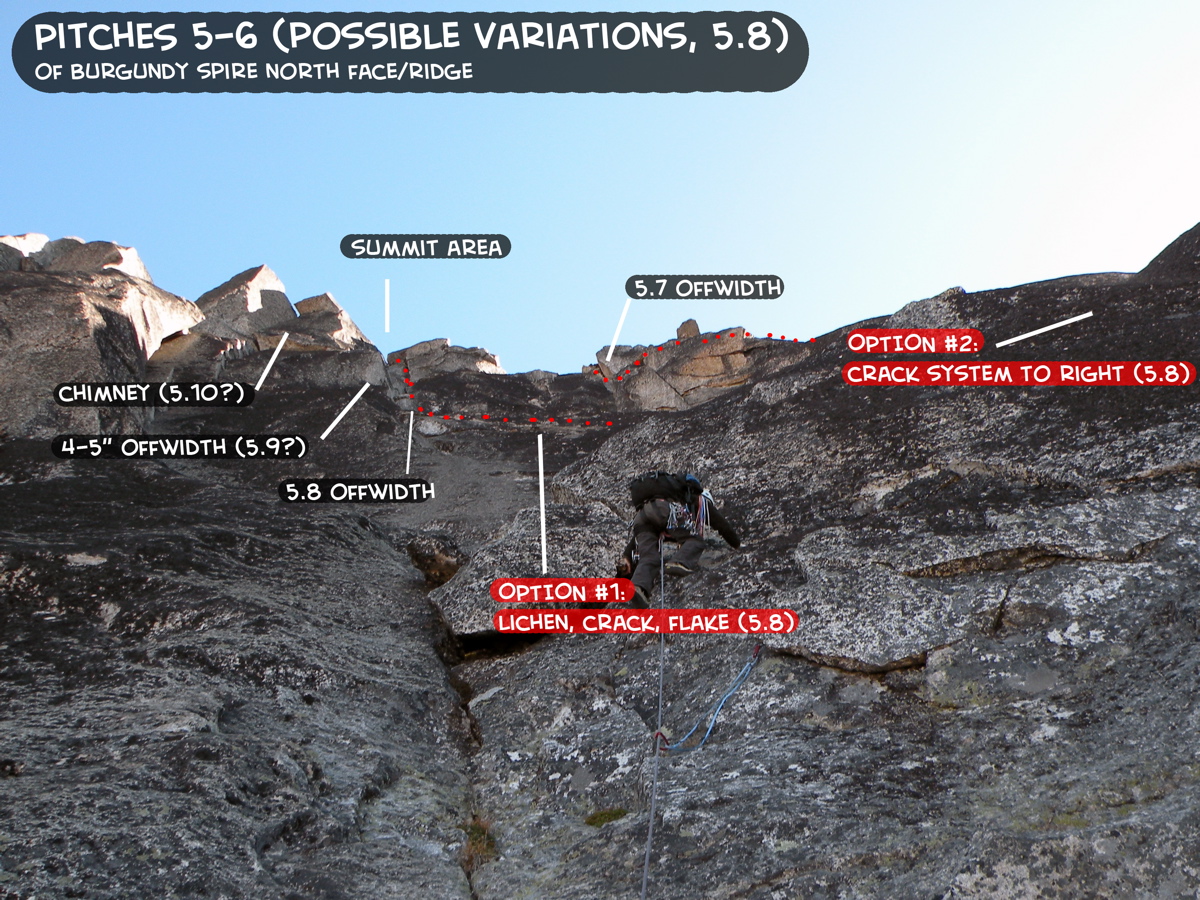 Options on the upper face. Pitches 7-8 of the standard route are off to the right
Descent
OK so you are on the summit and it's probably getting dark and you need to get down. First and foremost, the rappelling will be expedited if you brought double ropes therefore that's the way I will describe the descent. If you only have a single rope you can still safely get down as there are slings all over this peak. With double ropes, there are 5 raps.
| Rappel | Photo | Description |
| 1 |
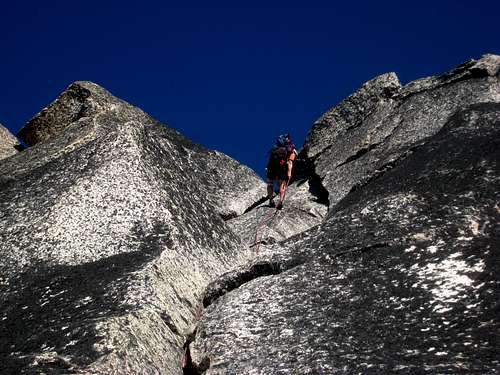 Rappel 1
 |
From the summit, there is a huge rock with about 10 slings wrapped around it. Rappel off this bomber anchor about 40 meters down the middle of the upper face (well to the climbers left of your ascent route) to a bolted anchor on a ledge below. If you have a single rope, you will have to down-climb 10-15 feet to get to the bolts. |
| 2 |
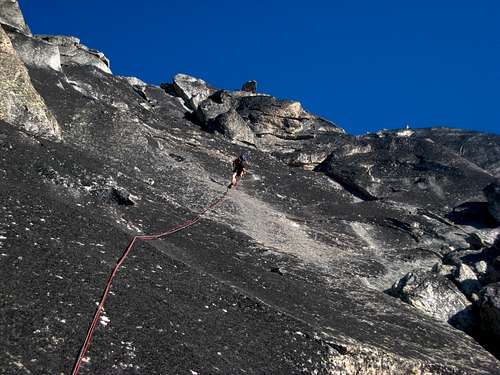 Rappel 2
 |
Rappel 55 meters from the bolts down the lichen covered face all the way down to the huge ledge next to the big arch. Cross back under the arch and locate the next anchor just on the other side of the arch which is a large constriction rock with a handful of slings. You could also traverse all the way back across the huge ledge and use the anchor you used at the top of the 4th pitch. If you have a single rope, you will have to find/make an intermediate anchor halfway down the face. Doing this may make it possible to reduce the number of rappels to only four but since I didn't do this I can't say for sure. If you only have a single rope you MUST traverse all the way back across the huge ledge and rappel from the anchor at the top of the 4th pitch and continue rapping your climbing route. There are many slings. |
| 3 |
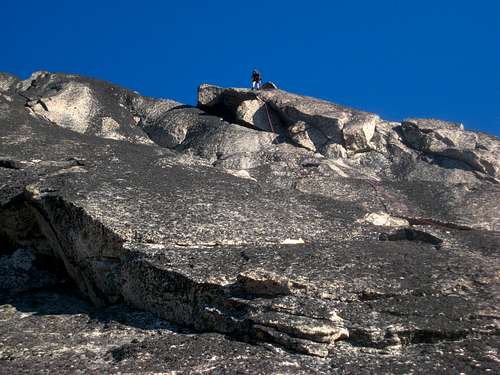 Rappel 3
 |
Rappel 55 meters from the constriction anchor next to the arch which starts as a small overhang, then continues down more lichen covered rock to a horn with a blue sling around it. This horn is off to the climbers right of the route you climbed. |
| 4 |
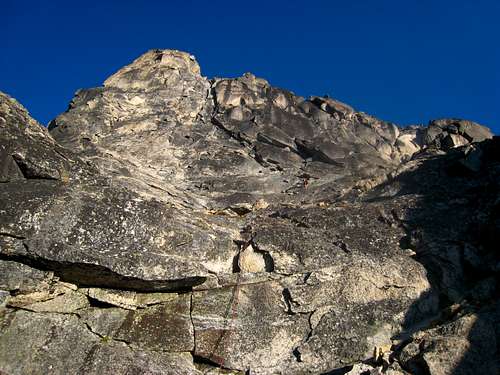 Rappel 4
 |
Rappel 40 meters from the horn as described above to the large scree covered ledges. Exercise caution pulling the rope on this one. Locate an anchor at the very top of the first pitch chimney. |
| 5 | No Photo | Rappel a full 60 meters to the base of the first pitch. If you have a single rope, use one of many intermediate anchor options. |
Panoramic Views
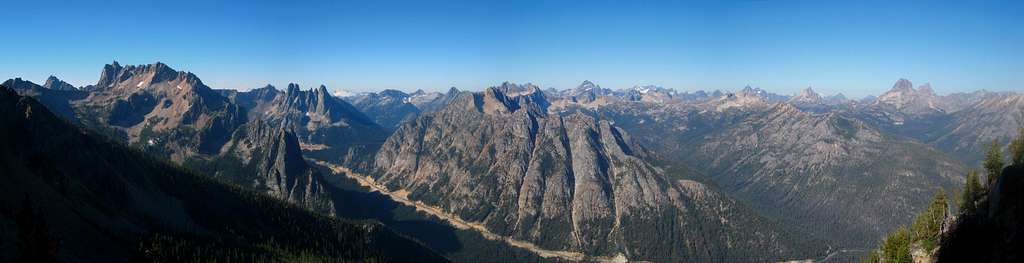 Late morning panorama
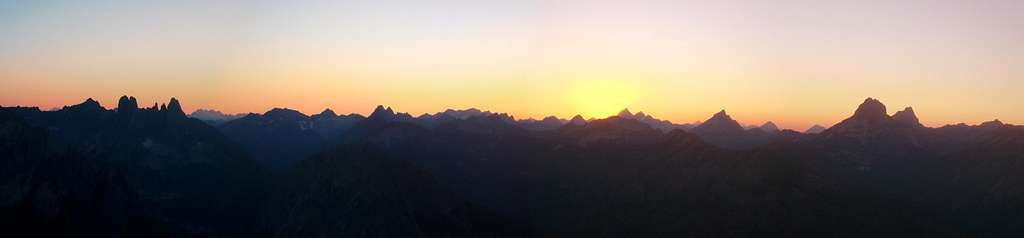 Sunset panorama
Essential Gear
Helmet, at least a 60 meter rope, double ropes preferred, set of nuts, full set of cams to 4", 10 alpine draws, rock shoes. I really liked having the C4 and I placed it three times however if you are very confident on 5.8 you can forgo it. If 5.8 is near your trad limit, bring double Cams of 0.5, 0.75 and 1 as well.
Josh's Page on SP
Overview
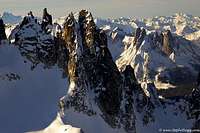 Burgundy Spire during Winter
"The striking northern most sentinel in the rugged Wine Spires above highway 20 is one of the most technically challenging summits in the Cascades." -Fred Beckey
Dallas Kloke ranked Burgundy Spire on the Top 10 hardest Peaks in Washington. This spire is located in the Okanogan National Forest, North Cascades near Washington Pass. It's attached to a series of other spires known as "The Wine Spires" along Silver Star's North Ridge. The easiest route up this peak is 5.8 (YDS), all of the routes on this peak are long and fairly committing.
 Steep North Face
 |
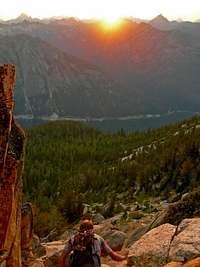 Scrambling Down
 |
 Scrambling to the Col
 |
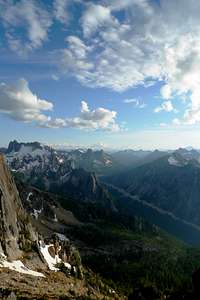 View of Highway 20
 |
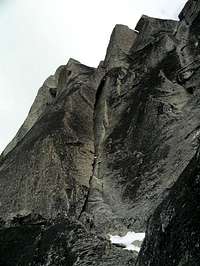 Chimney Variation
 |
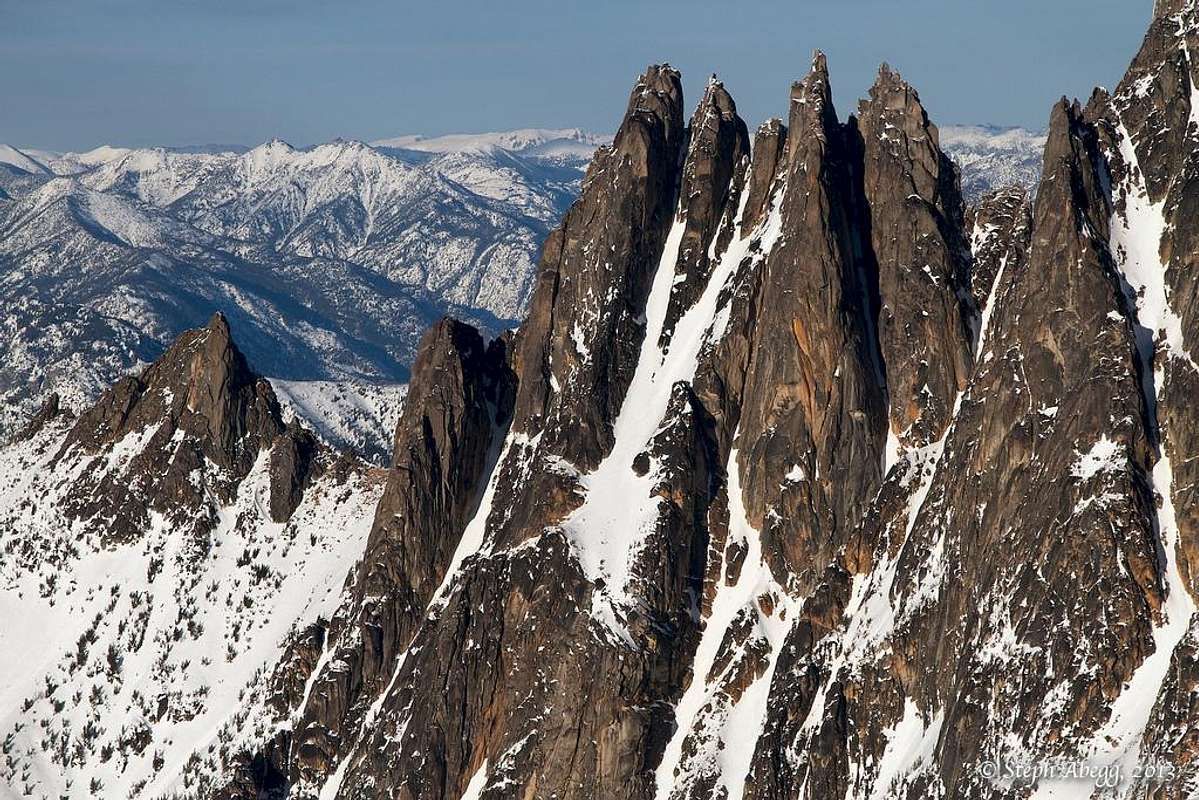 West Face of the Wine Spires: Burgundy Spire is the Spire in the Center of the Pic (Most Leftward Spire)
Routes
 North Face
 Action Potential
North Face (5.8): This is considered by many to be the standard route up Burgundy Spire considering that it's the easiest way. The route consist of 8 pitches and at least 5 rappels. It has 3 sections that go up to 5.8. In Matt Lemke's words the route has "Many traverses, some down-climbs and lots of flakes and cracks of all sizes make this climb a tough yet varied climb that will test your route-finding and climbing skills".
East Face Action Potential (5.10c): "One of the newer additions to the Wine Spires is this route put up by Mike Layton and Mark Allen in 2004, which follows much of the Cascades in offering a bit of adventure mixed with some excellent climbing. Despite some areas on the face that have subpar quality and cleanliness, the steepest and most challenging sections offer outstanding climbing in as usual, a fantastically scenic setting". -Z-Man
Northeast Buttress (UltraMega OK), Grade 5.10c/d (A0) or 5.11 III: There isn't much beta on this route. The first ascent was done in 2004 by Mark Allan and Tom Smith. The trip report can be seen on CascadeClimbers.
Getting There
From Seattle: Drive north along I-5 until you arrive at Arlington which you'll take exit 208. From here you take a right onto highway 530, in about 4 miles you take a left onto highway 9 for a few seconds and then take a right back onto highway 530. Then continue heading east for 27 miles until you get to Darrington. In Darrington you'll see a shell gas station where you take a left (north) which continues as highway 530. Eventually you'll end up in Rockport where you should take a right onto highway 20. From here you'll pass through Marblemount, Newhalem, and then Diablo. In about 35 miles you arrive at Washington Pass. After passing the Washington overlook road (left) keep driving for about 3.9 miles. The road now goes down hill, past a hair pin turn, and past multiple pull outs. The trailhead is a long pull out that is relatively obvious. If you see NF-400 on your left, you've gone too far (by 0.8 miles).
From Winthrop: (East Side of the Cascades): Drive East on Highway 20 for about 26.6 miles. About 0.8 miles from the pull out you'll see NF-400 on your right side. From here the trailhead is the next major pullout on the left side of highway 20.
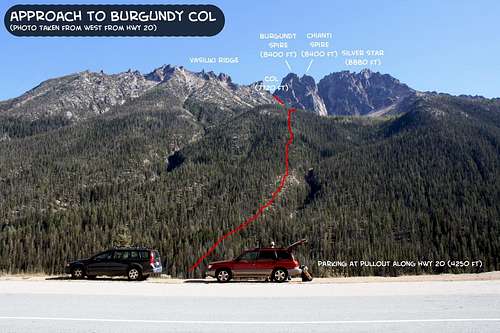 The Approach to Burgundy Col
 |
 Le Petit Cheval from Highway 20
 |
Red Tape and Camping
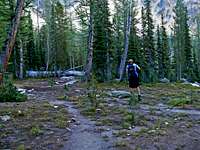 The First Camp Spot
 Water Fill up near the Col
There is no red tape to climb this peak nor is a northwest forest pass required for parking at the pullout.
There are two main camping spots along the standard route. Half way up the approach is the first one at about 6,500 feet (very flat and could fit a dozen tents). The second one is at Burgundy Col. There is also camping at Rainy Pass (with amenities) which may require a Northwest Forest pass. More can be found in the Washington Pass area.
Water can be found in a few places even in late season. The first water source is at Early Winter Creek near the beginning of the trip. As you walk up the slope you could potentially walk off trail to the right to fill up water (although a bit out of the way). The next spot is a little bit before Burgundy Col, it's a small trickle on the trail. You might be able to find a trickle of water on the east side of Burgundy Col or break off a piece of hard snow. So in short, bring at least two liters of water.
When To Climb
Highway 20 usually closes around mid October until May. Some years have different variations of when the highway opens/closes due to snow pack and road damage. The best time to climb this peak is July through September. October might have fresh snow on the faces making climbing conditions less than ideal. The approach up to Burgundy Col is easier when snow covered, but could be potentially dangerous on the face.
 Evening Light with the Moon
Route Photos
Here's a few pictures to get you inspired to climb this peak.
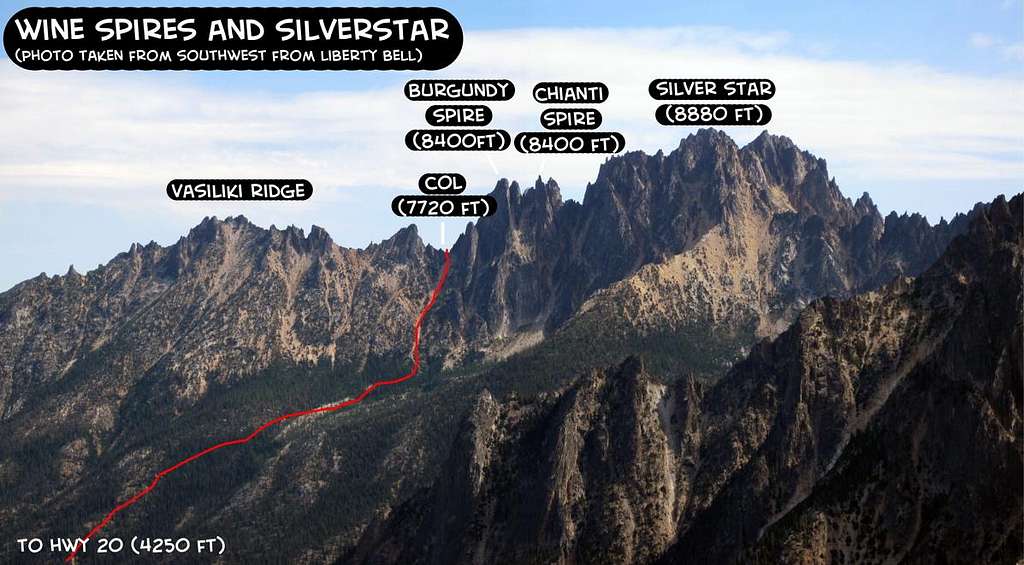 Wine Spires and Silver Star
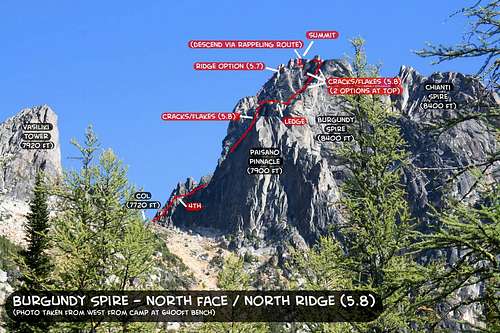 Photo overlay of North Face of Burgundy Spire
 |
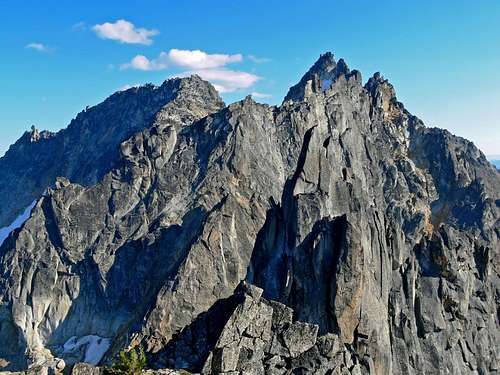 Silver Star Summits
 |
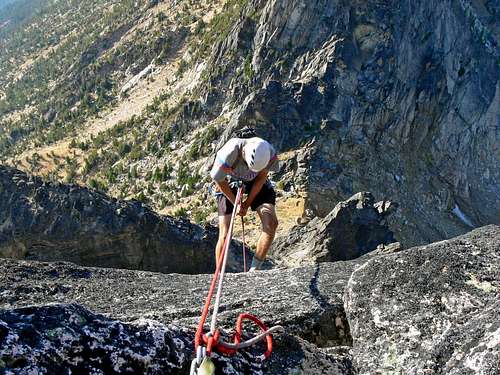 Rappelling Down the Standard Route
 |
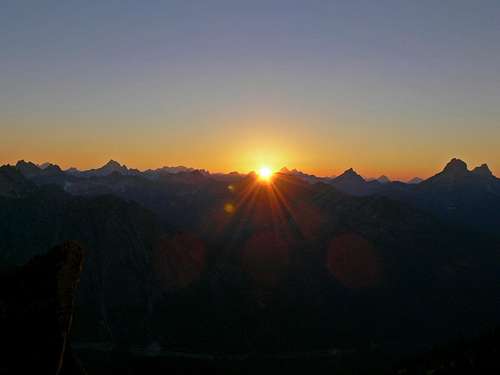 Sunset over the North Cascades
 |
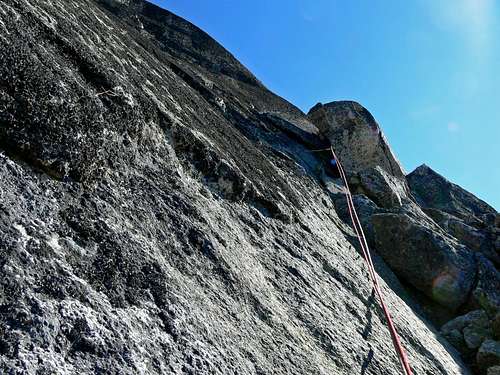 Looking up the 5th Pitch (I think)
 |
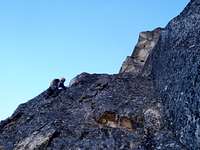
Climbing the First Pitch |
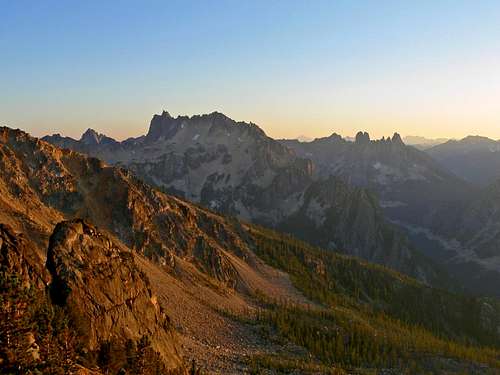 Sunset with Kangaroo Ridge
 |
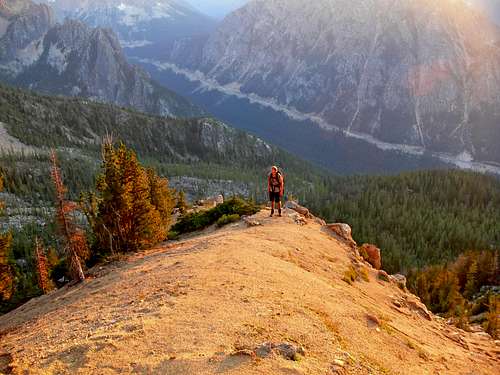 The Pathway during Sunset
 |
Mountain Conditions
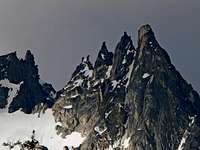 Shadowed Light on Burgundy
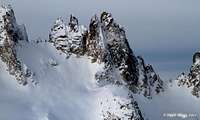 Burgundy Covered in Snow
To see up coming weather conditions check in with the Noaa Forecast.
During November through April be sure to check in with the Northwest Avalanche Center. Very few people would even consider doing this peak during early season. But the link is for the hardy folks who go for it during Spring. Conditions are less than forgiving during the winter months on this peak.
For road Conditions check in with Washington State Department of Transportation for an up to date status on the road conditions.
Map
-
{{#owner}}
-
{{#url}}
{{#avatarSrc}}
{{name}} {{/url}} {{^url}} {{#avatar}} {{& avatar}} {{/avatar}} {{name}} {{/url}} - {{/owner}} {{#created}}
- {{created}} {{/created}}