Water System
Introduction
Materials used
- Barker Manufacturing Company 11915 15 Gal. Water Tank Kit ($105.87 on Amazon)
- Duda Energy HPpvc050-010ft 10' x 1/2" ID High Pressure Braided Clear Flexible PVC Tubing ($12.05 on Amazon)
- SHURFLO 4008-101-E65 3.0 Revolution Water Pump ($70.12 on Amazon)
- SHURFLO (255-313) 1/2" Twist-On Pipe Strainer ($8.11 on Amazon)
- SHURFLO Black 182-200 Accumulator Tank ($35.60 on Amazon; have not installed yet and still deciding if it's really needed)
- 90 degree Straight fittings 1/2 fpt x 1/2 barb with wings ($6.60 on Amazon)
- LASCO 13-1815 Test Plugs for Copper with Wing Nut for 1-Inch Inner Diameter ($8.80 on Amazon)
- IPOW Solid Brass Body Backyard 2 Way Y Valve Garden Hose Connector Splitter Adapter ($11.99 on Amazon)
- Dixon DGH7 Brass Quick-Connect Fitting, Garden Hose Complete Set, 200 psi Pressure ($11.15 on Amazon)
- Camco Flexible Camper Drain 37420 ($10.63 on Amazon)
- Reliance Products Aqua-Tainer 4 Gallon Rigid Water Container ($17.28 on Amazon)
- Apex, 883-6, Hose Reel Leader Hose for Reels with Male Connector, 5/8-Inch x 6-Feet ($11.99 on Amazon; for drainage)
- 25' Long Potable Grade Water Hose for Filling Tank ($18.99 at McLendon Hardware)
Kitchen
- 4' Long Vinyl Counter-top ($50 at Lowes)
- Fyndig Stainless Steel Oval Sink ($50 at Ikea)
- Lagan Single Lever Kitchen Faucet 6.25" Height ($24.99 at Ikea)
- Sink Strainer and Stopper ($10 at Ikea)
- Bass Pro Shops two burner portable propane stove (Free from Alaska fishing contest prize)
Wood for Cabinetry (Excluding Refrigerator)
- Ten (10) 2" X 3" X 8' Long Spruce Studs ($2.09 each at Home Depot)
- Extra pine panels (Purchased Earlier)
- Extra pieces of 1/2" and 3/4" plyood for cabinet partitions (Free from my dad)
- 4' X 4' piece of 1/4" MDF hardboard with white top ($15 at Home Depot)
- 12' long 1" X 4" oak board (Purchased Earlier)
- 4' long 1" X 6" oak board ($10 at Lowes)
- 12' long 1" X 2" oak board ($12.99 at Lowes)
- 6' long by 9.5" wide and 1/2" thick Jatoba board ($79 at Crosscut Lumber)
- 30" long by 9.5" wide and 1/2" thick replacement piece of Jatoba since first piece from Crosscut was too warped on one end ($20 at Austin Hardwoods)
Hardware
- Three (3) Bronze finished cabinet handles ($3.78 each at Lowes)
- Two (2) pairs of 14" long drawer slides ($16 each at Home Depot)
- Box of 2.5 inch Kreg Pocket hole screws ($6.99 from Lowes)
- Eight (8) 90 degree angle brackets ($2.99 each at Lowes)
- Four (4) Liberty Brand soft close Inlay Cabinet Hinges ($5.18 each at Home Depot)
- Leisure Products (PM 2001 L 40 lbs 90 Degree Magnetic Mount Catch (16.47 on Amazon)
- Teflon Tape (Free from my dad)
- Various Sized Pipe Clamps (Free from my dad)
Tools Used
- Measuring Tape
- Carpenters Square
- Manual Screwdrivers
- Jig Saw
- Table Saw
- Sockets
- Wrenches
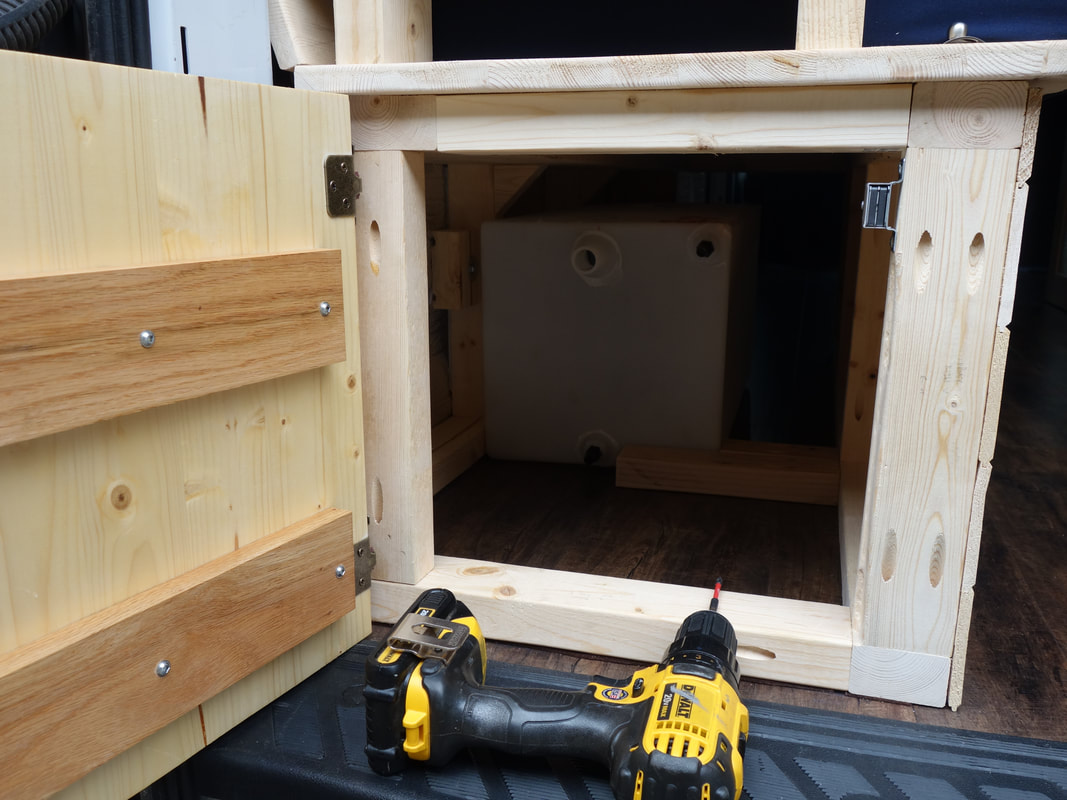
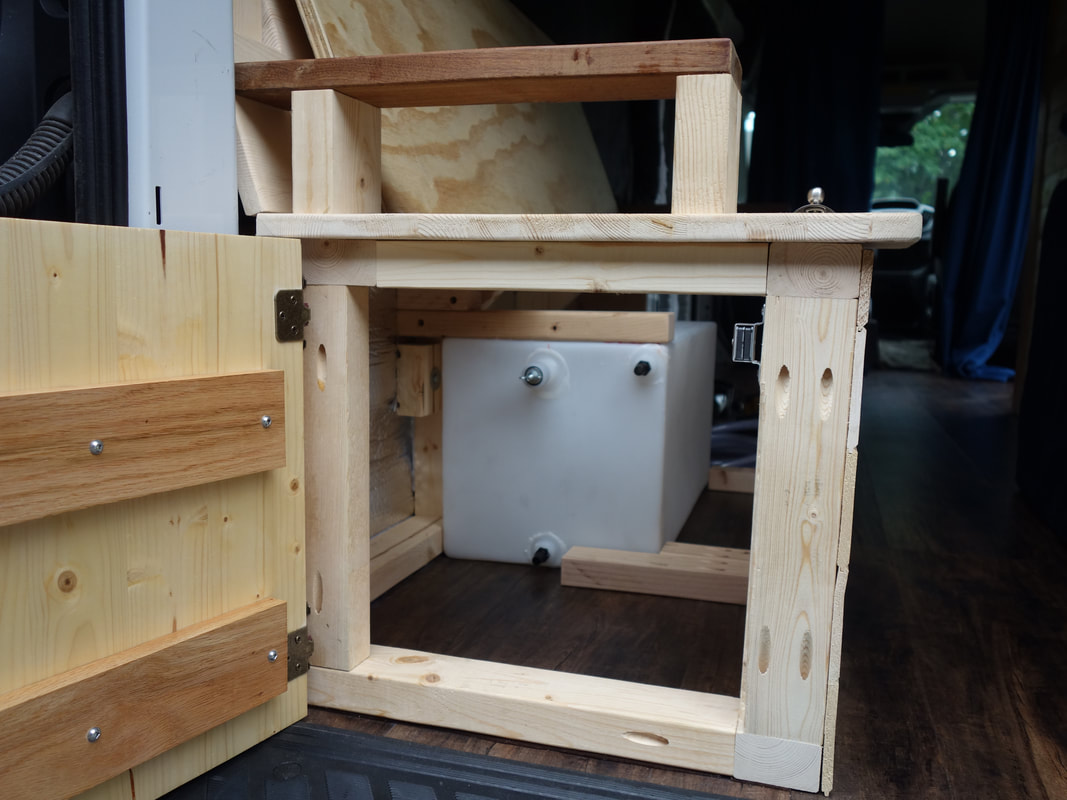
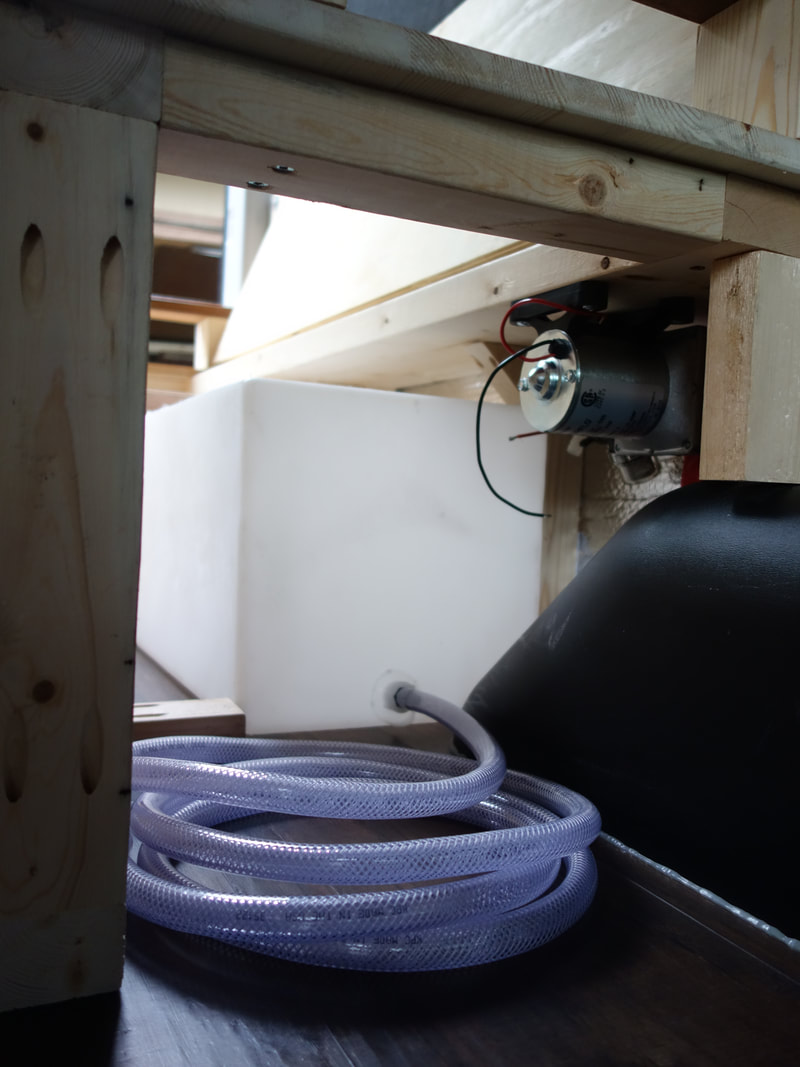
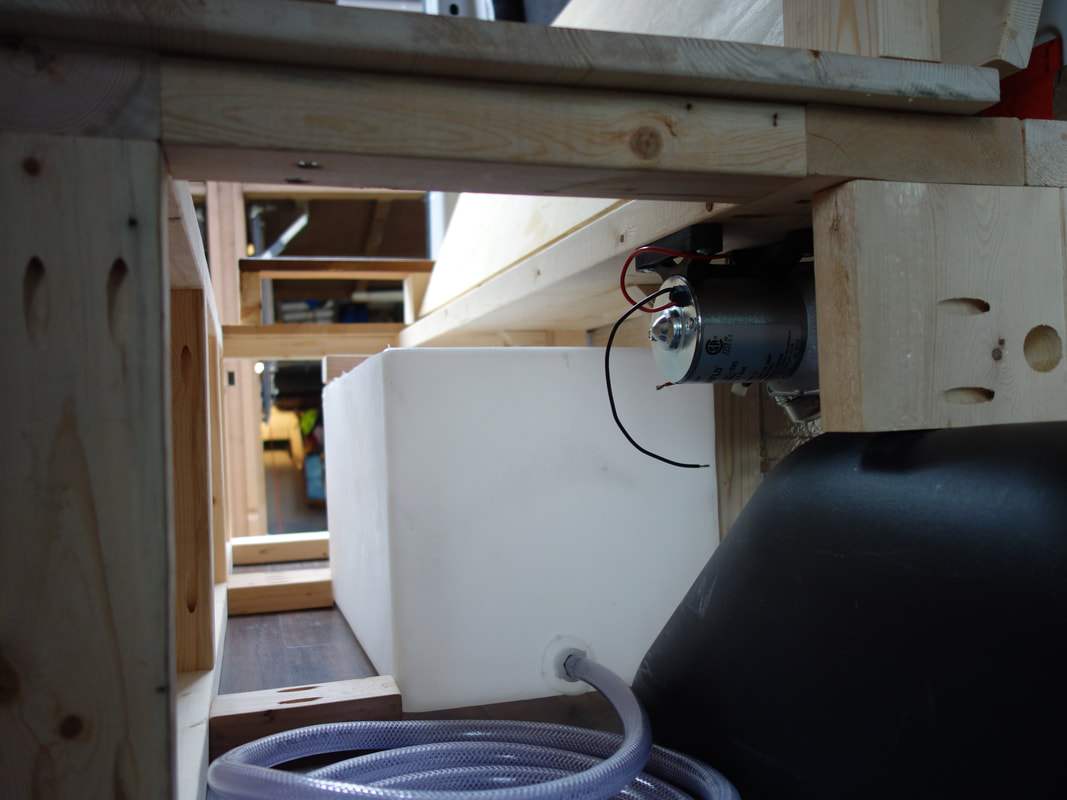
step 1 - install the tank and pump
First, I cleared a spot for the water tank under the couch, and secured it in place to prevent it from sliding around with extra short pieces of 2" X 3" studs attached to the existing couch frame. I used the Kreg jig to securely attach them, along all sides of the tank, as well as above it to keep it from bouncing upwards in the event of a large bump on the road. Next, I located a spot on the underside of the horizontal beam that comprises the bottom of the couch to place the water pump. This spot is very close to the tank, allowing for least amount of distance as possible to maximize the pump performance. Because the pump can be mounted in any orientation, this gave me quite a bit of freedom of where to place it. I also purchased the pump strainer designed for this SHURFLOW pump, and it was an easy screw connection on the inflow side of the pump. The tank came with 1/2" threaded fittings with barbed nozzle ends for a water tight seal against the braided hose. These were easily screwed into the pre-fabricated threaded holes in the tank, with some Teflon tape for added seals. It is important not to screw these on too tight because the treads are only plastic! With the barbed fittings screwed onto the tank, I used the 1/2" flexible braided hose, and cut a piece to connect the outflow port of the tank to the pump strainer, pushing the hose over the barbed fittings and clamping with 3/4" pipe clamps. I then ran the electrical wiring from the pump to the fusebox, including a switch to allow for the pump to be completely off when not needed. This is all described in more detail in my electrical system article.

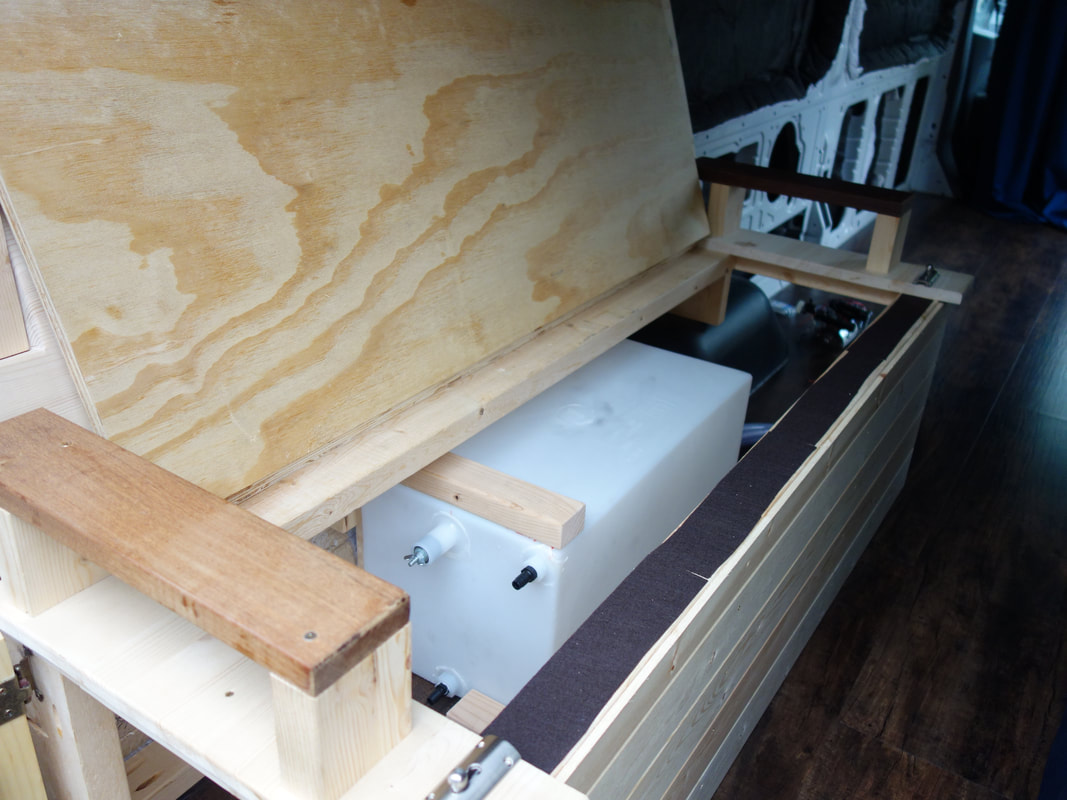
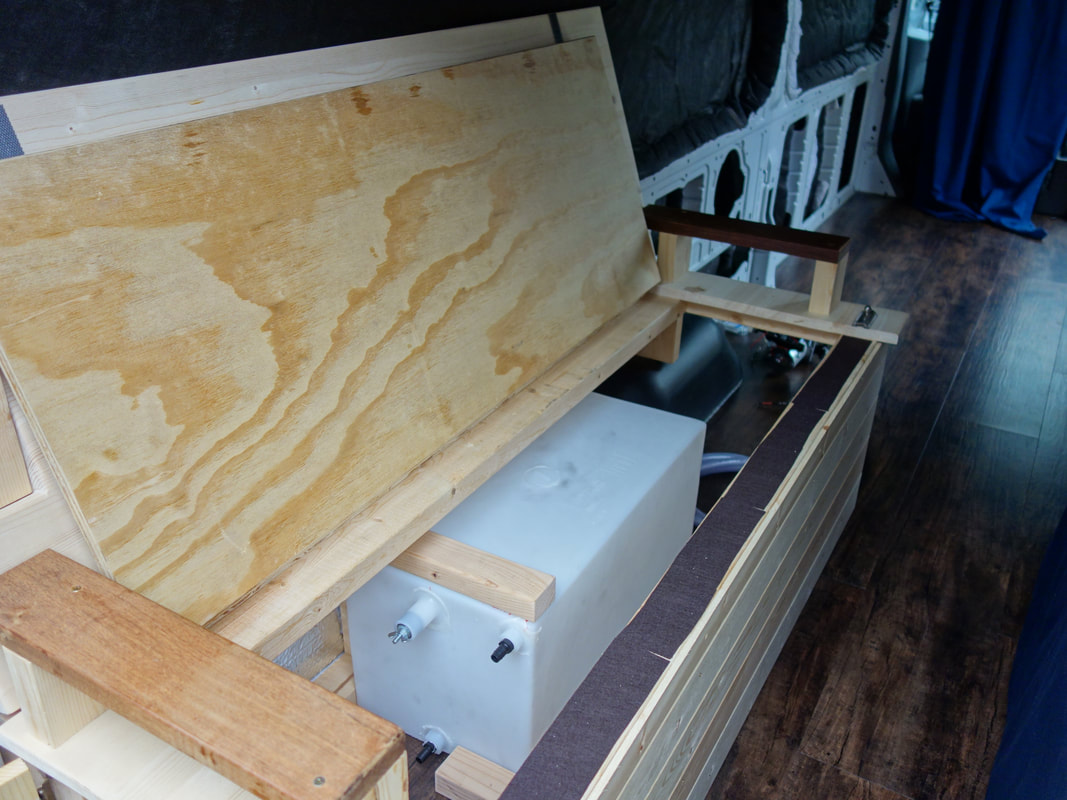

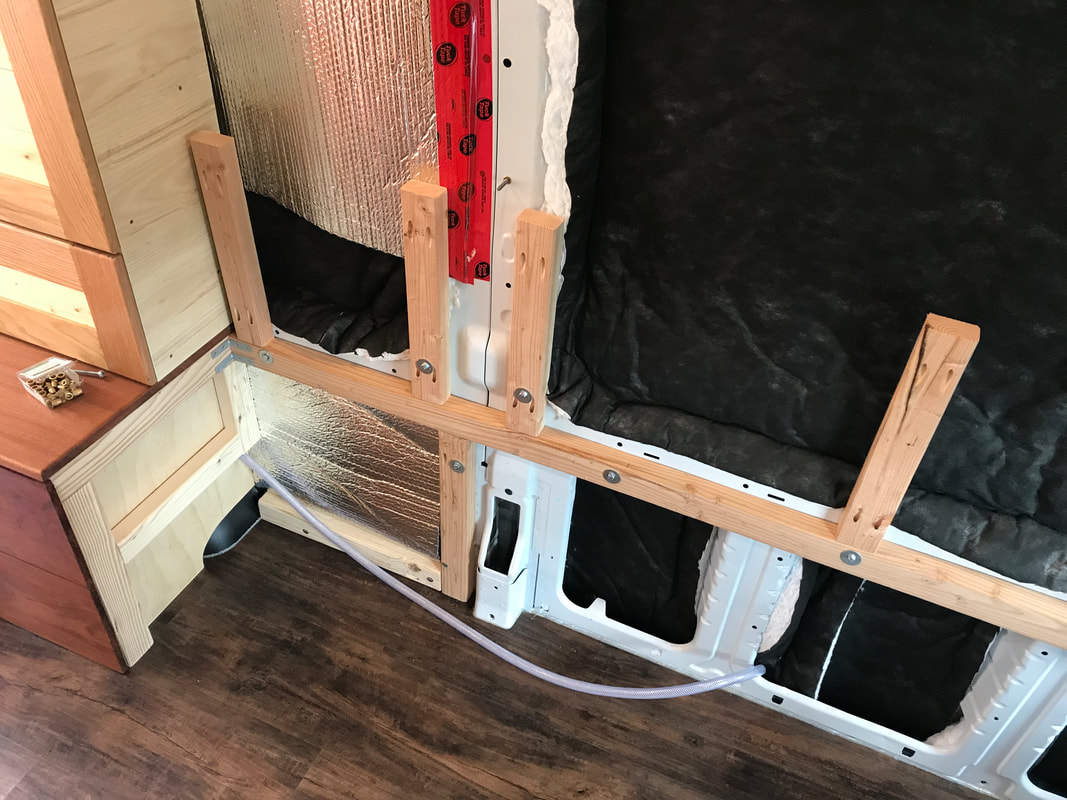
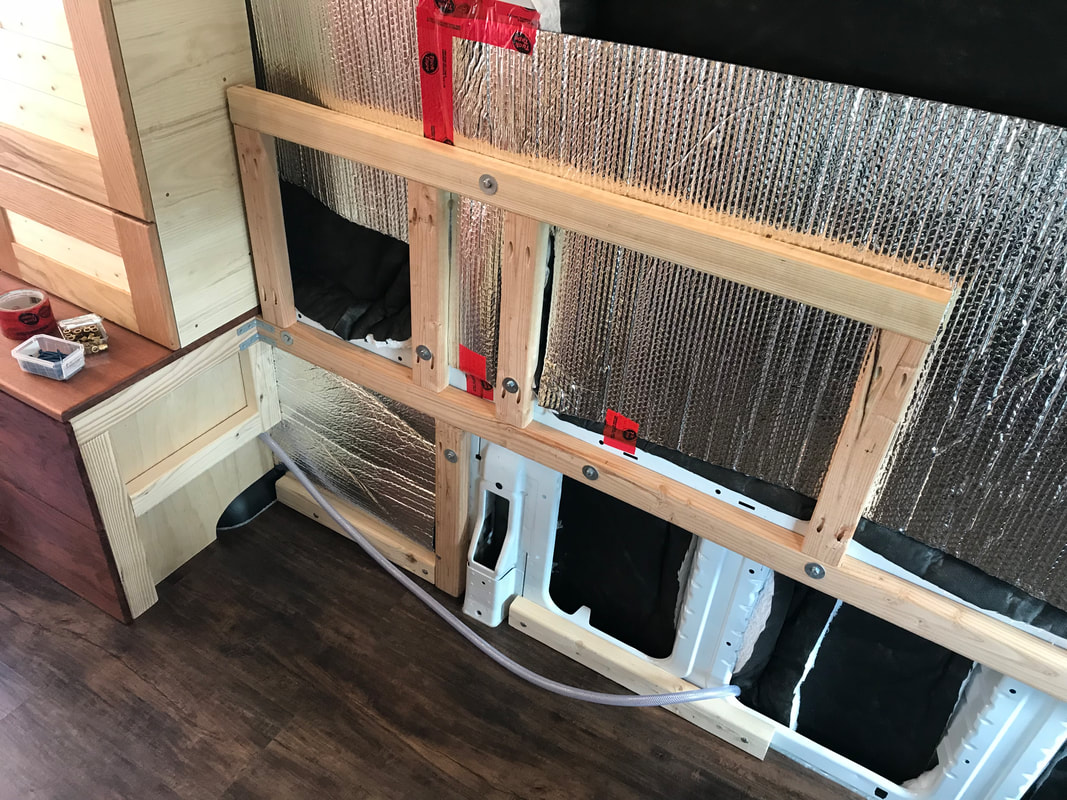
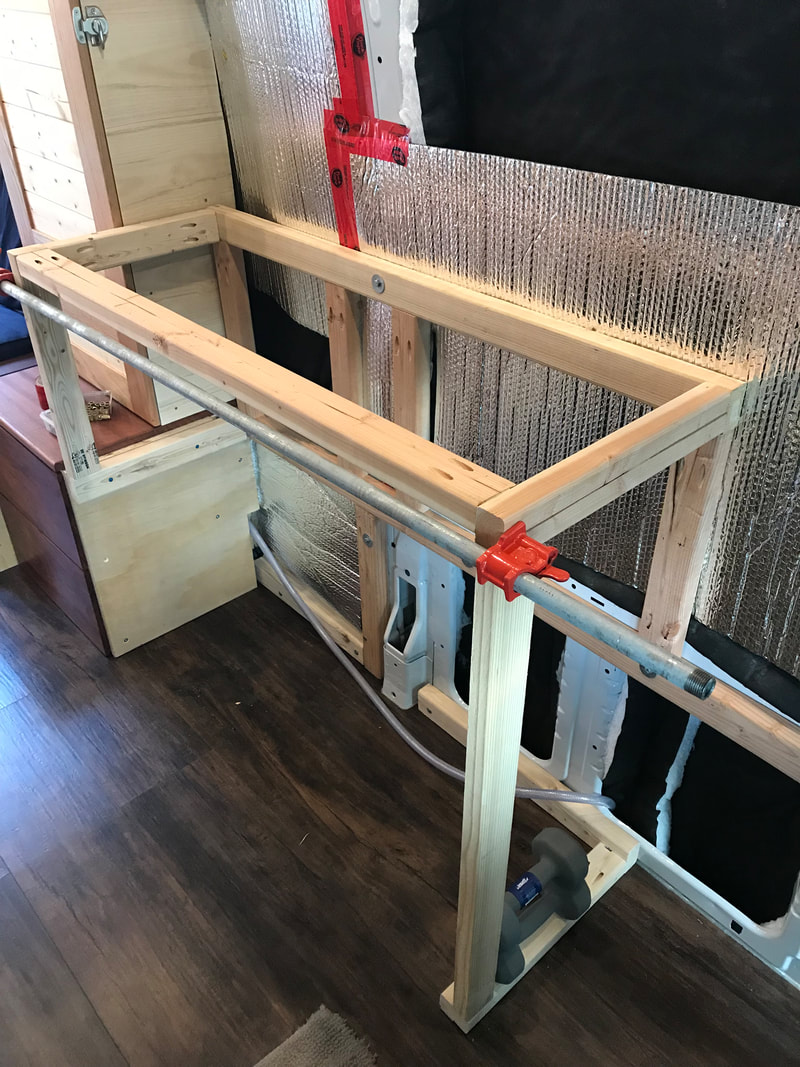
step 2 - build the counter-top Framework
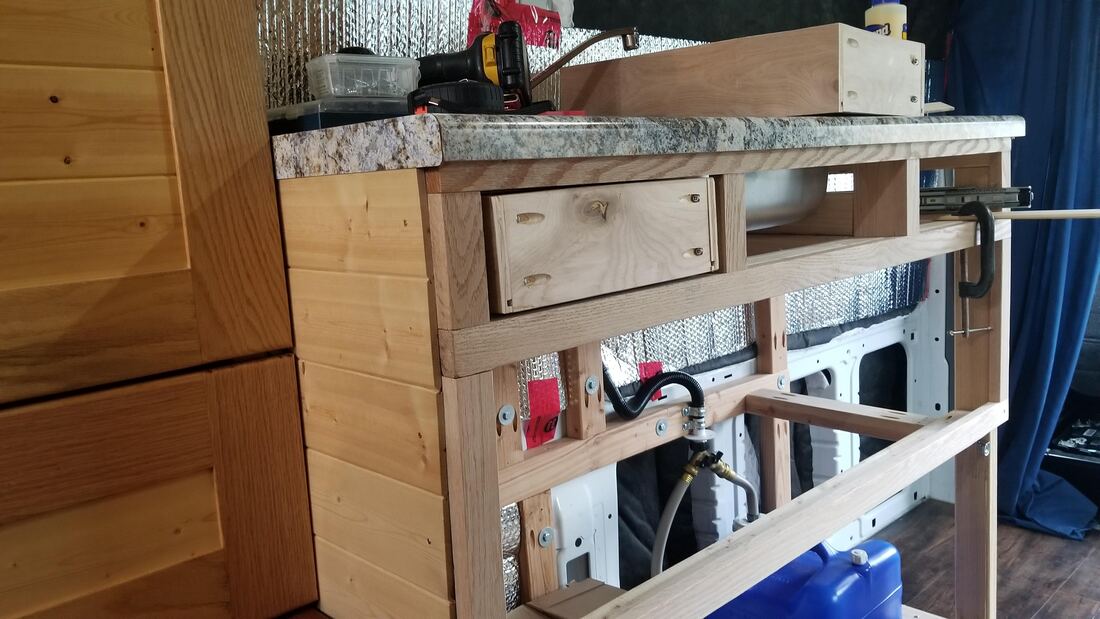
A number of months passed before I got the time to build the frame for the counter-top and install the sink and faucet. In the meantime after the tank and pump were installed, I built the electrical closet and pantry directly adjacent to the couch (see next articles). In early October 2018 I was able to build the kitchen counter, and started by securing a long piece of 2" X 3" stud along the length of the side van wall with the rivet nuts. This piece would act as a perfect anchor for most of the frame. I built down and out from here, precisely measuring additional pieces of 2" X 3" to make a solid and square frame that extended out enough to allow the final Cherry (Jatoba) facial boards to be flush with the electrical closet. I had to make extra sure the top of the frame where the counter-top with sit on was perfectly flat and square, so I added wood glue to these joints and clamped in place. In the first photo below, notice the finished electrical closet (bottom) and pantry (top) on the left edge, with the outflow hose sticking through. With the frame complete, I was now able to install the counter-top and sink.

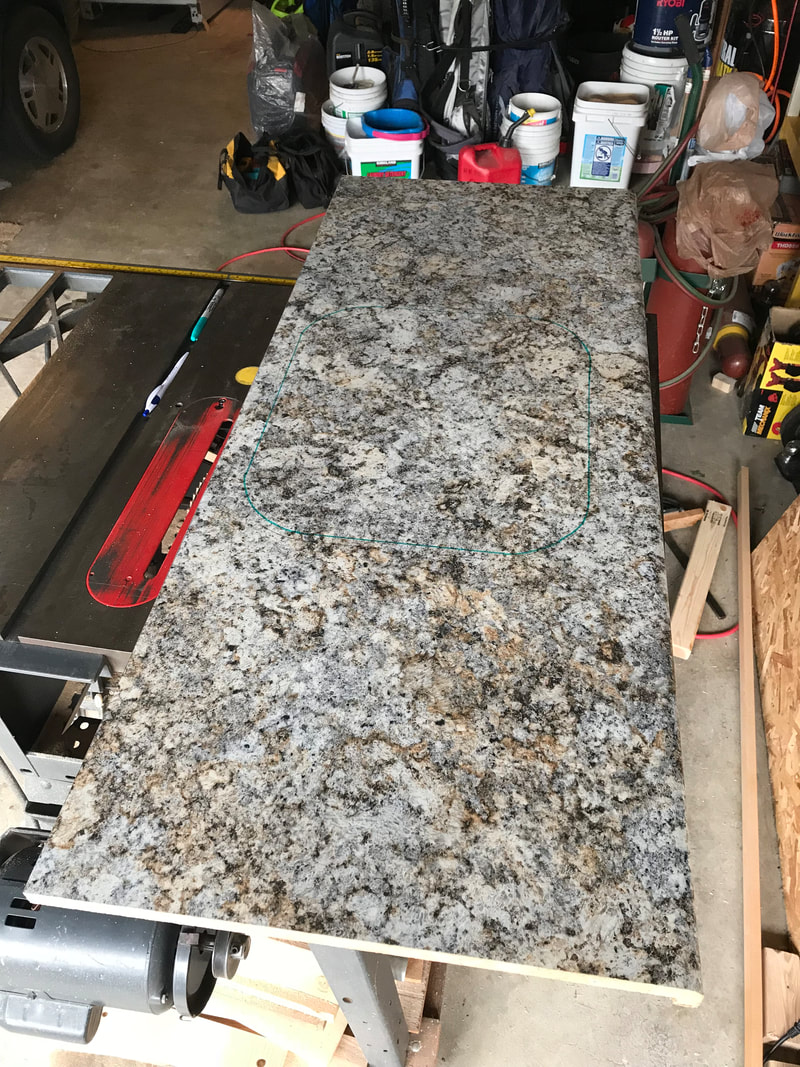
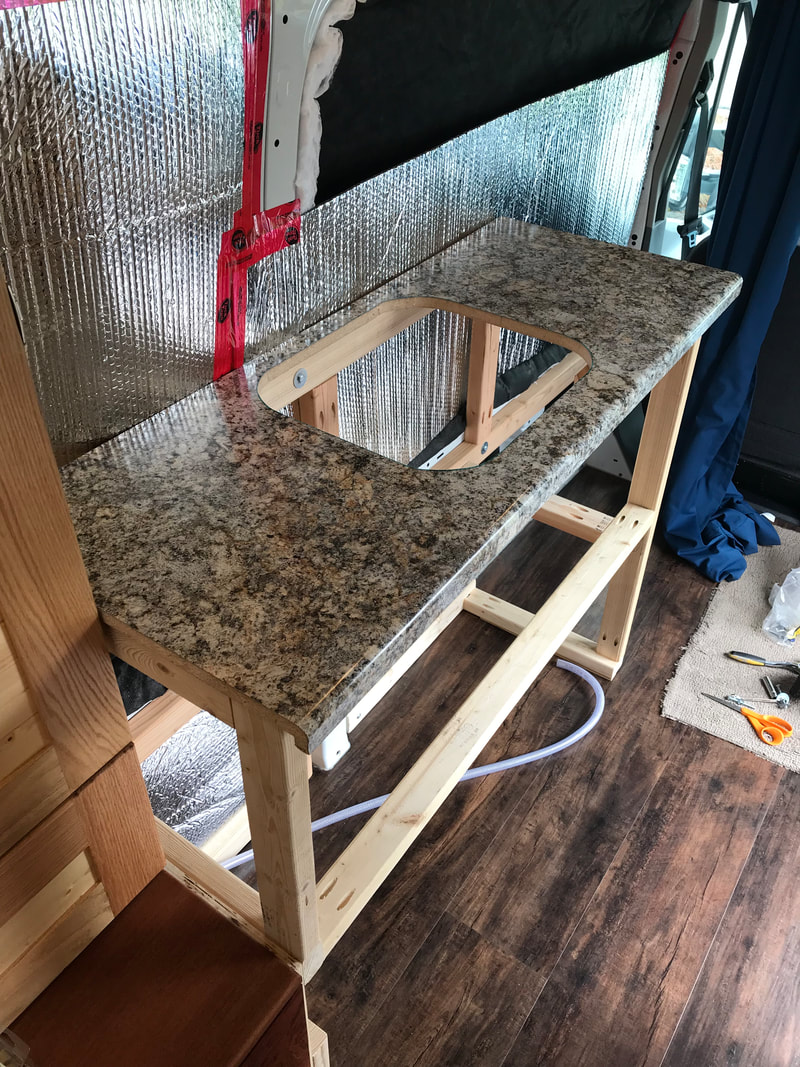
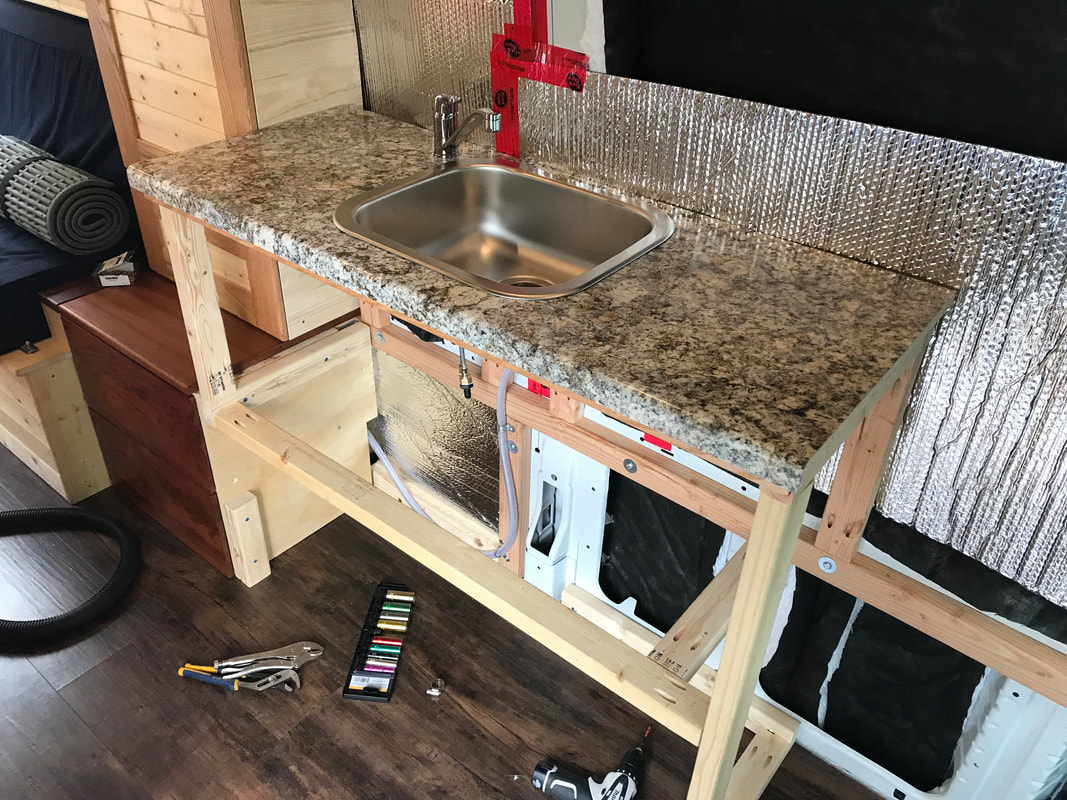
step 3 - install counter-top and sink
The last thing to do was to drill the hole through the counter for the faucet, which was an easy ordeal using a hole saw. I just had to make sure to place the faucet in a spot where the triangular plastic washer that is placed on the underside has a spot to be perfectly flush against the counter without hitting a frame board or the sink. The left corner ended up being the best place. Once the faucet was installed and tightened, I plugged the hot side with a threaded brass plug (since I will only be using cold water) and attached the outflow hose to the cold side of the faucet. This involved cutting the hose to length, and using U shaped brackets to secure it to the frame so it wouldn't jolt around when the water is turned on and off.

Step 4 - build the drainage system
Notice the blue grey water tank at bottom right with the flexible drain hose, and the Y valve.
|
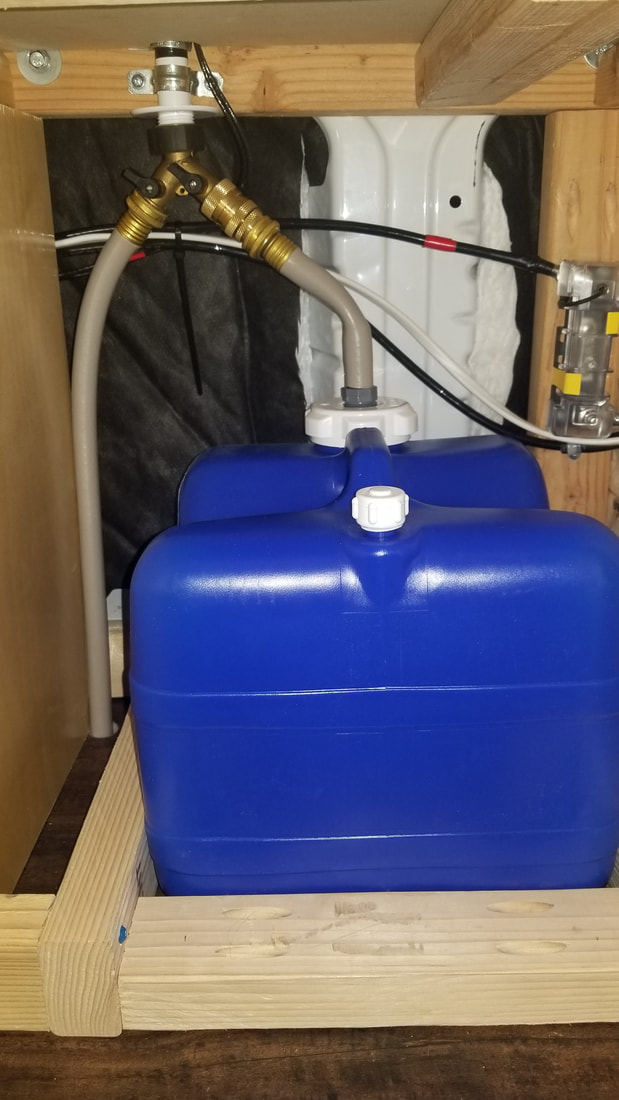
View of the grey water tank compartment with dual draining option. The 70A fuse to the right edge is for the Sterling B2B hot cable
|
step 5 - build kitchen cabinetry and drawers
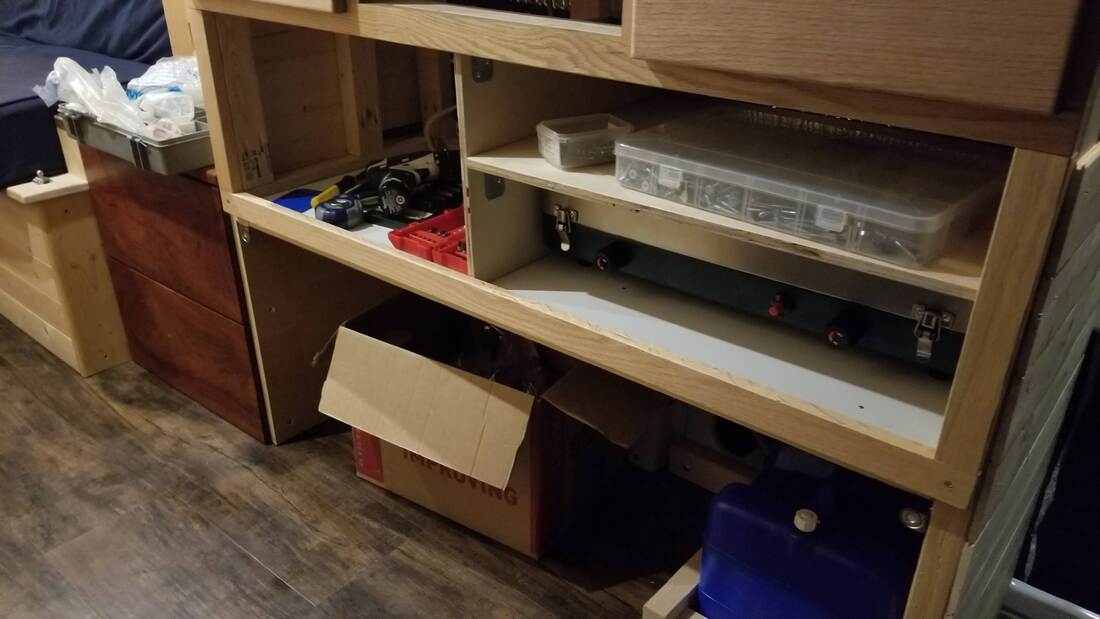
Compartment for a portable stove
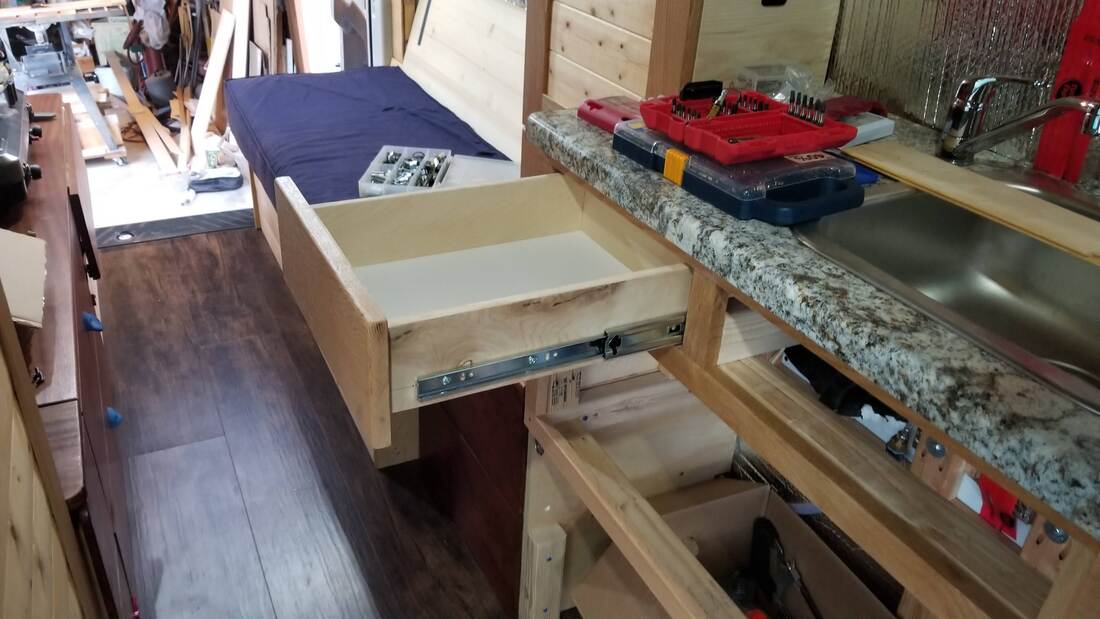
Drawers getting built! Notice the drawer slides...these are tough to get installed correctly.
|
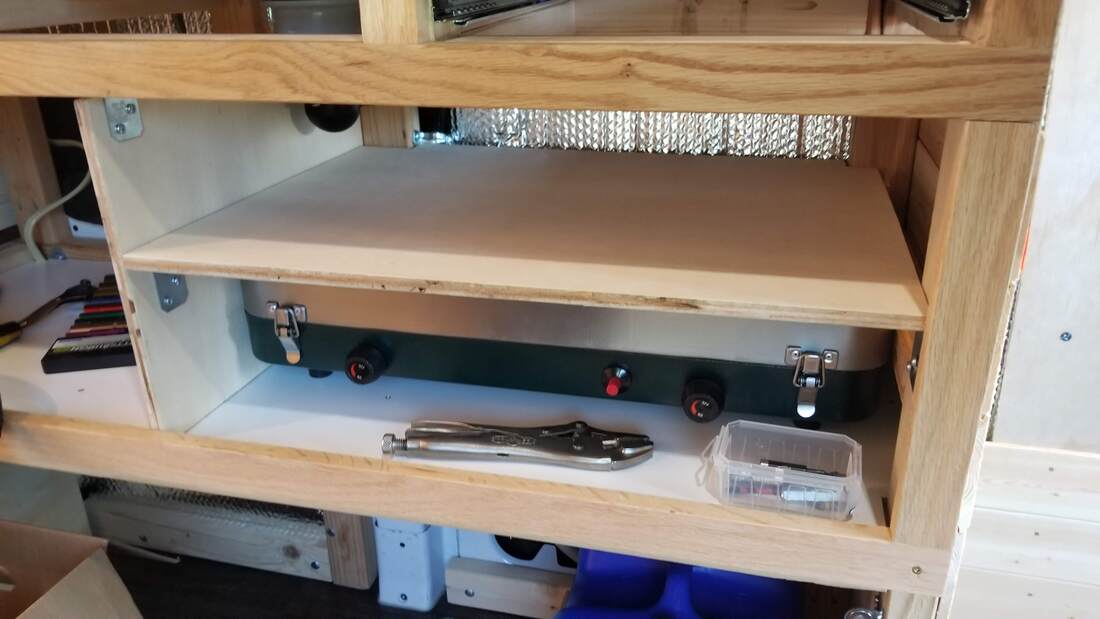
Oak trim, and angle brackets
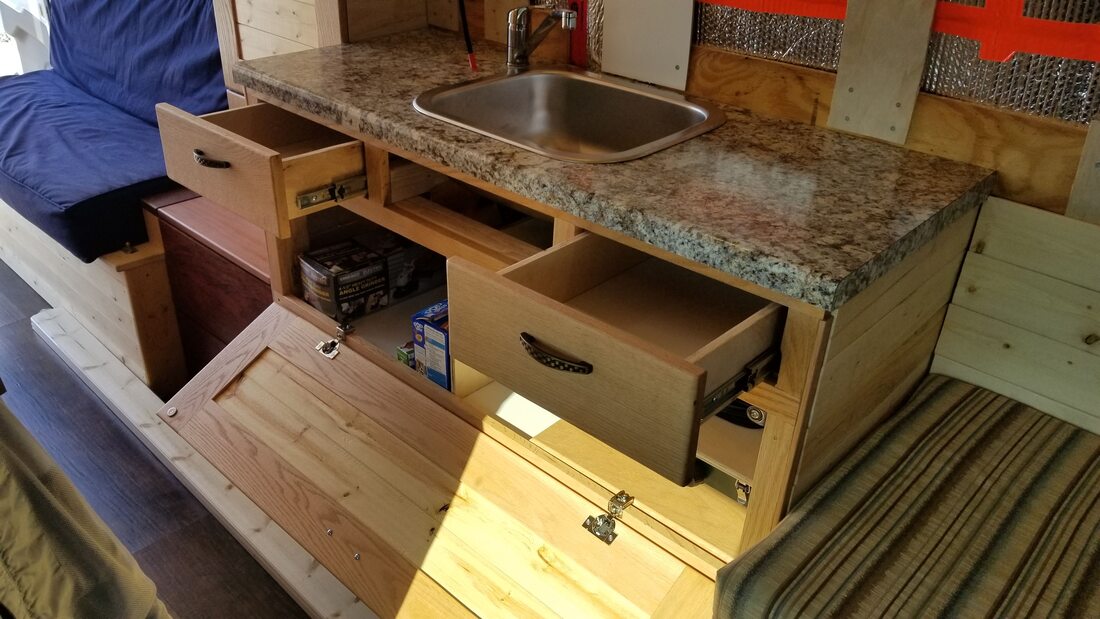
Two complete drawers, and the central cabinet door. I will need to add a gas strut or chain to keep it from opening too far
|
step 6 - build the doors
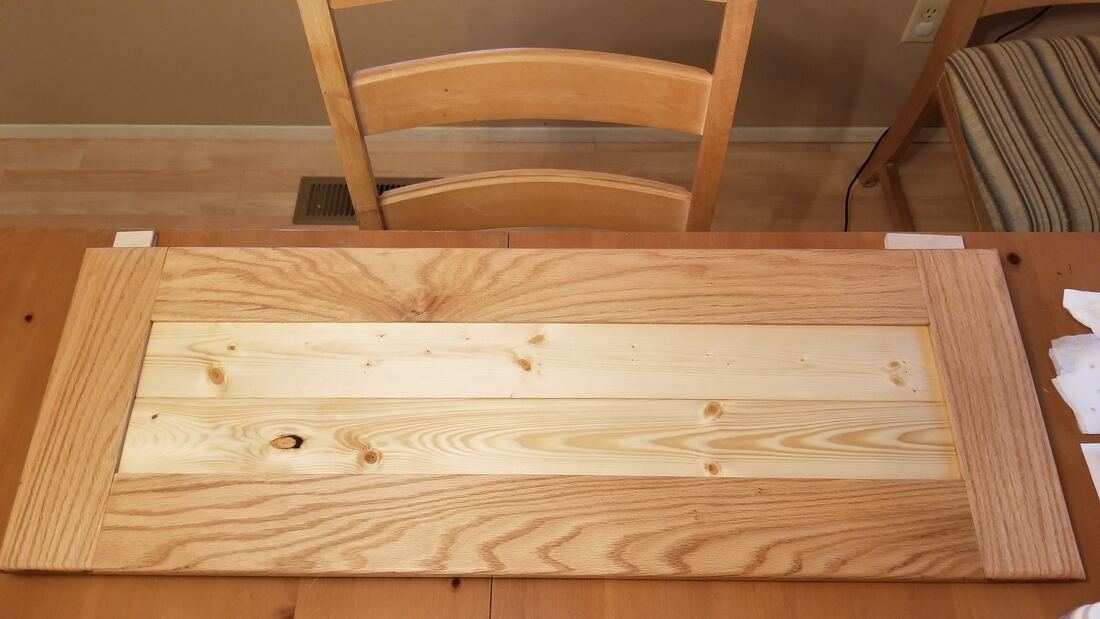
Assembling the cabinet door
|
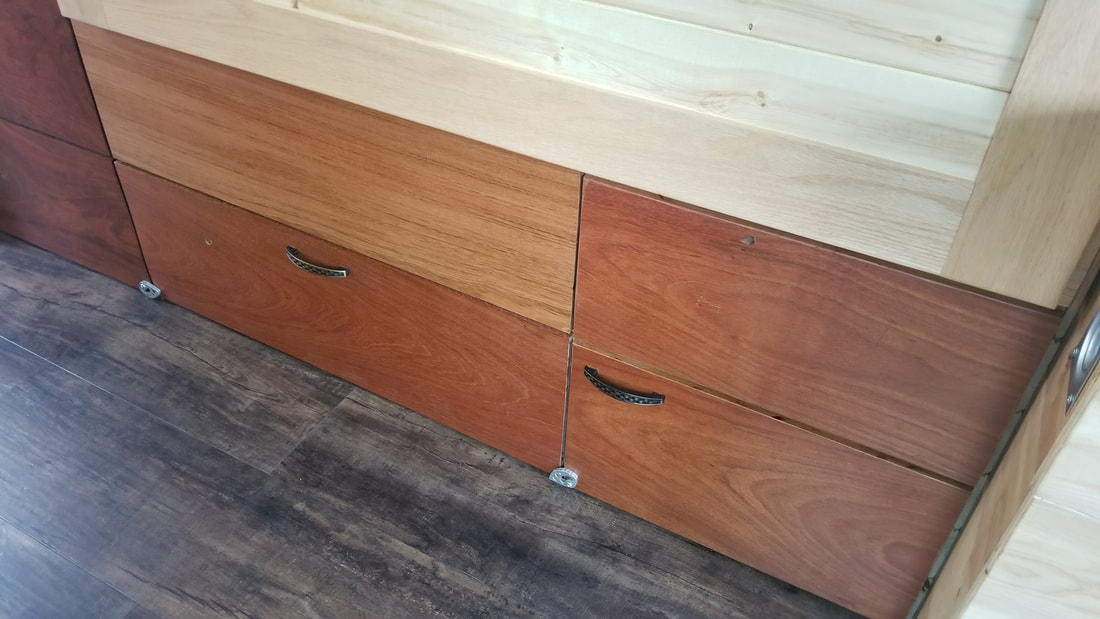
Finished Jatoba facial pieces. On the right is the door for grey water tank and the left the refrigerator pull-out.
|
-
{{#owner}}
-
{{#url}}
{{#avatarSrc}}
{{name}} {{/url}} {{^url}} {{#avatar}} {{& avatar}} {{/avatar}} {{name}} {{/url}} - {{/owner}} {{#created}}
- {{created}} {{/created}}